Community Track #43
Community
November 28, 2025
1,002 uses
+1 this week
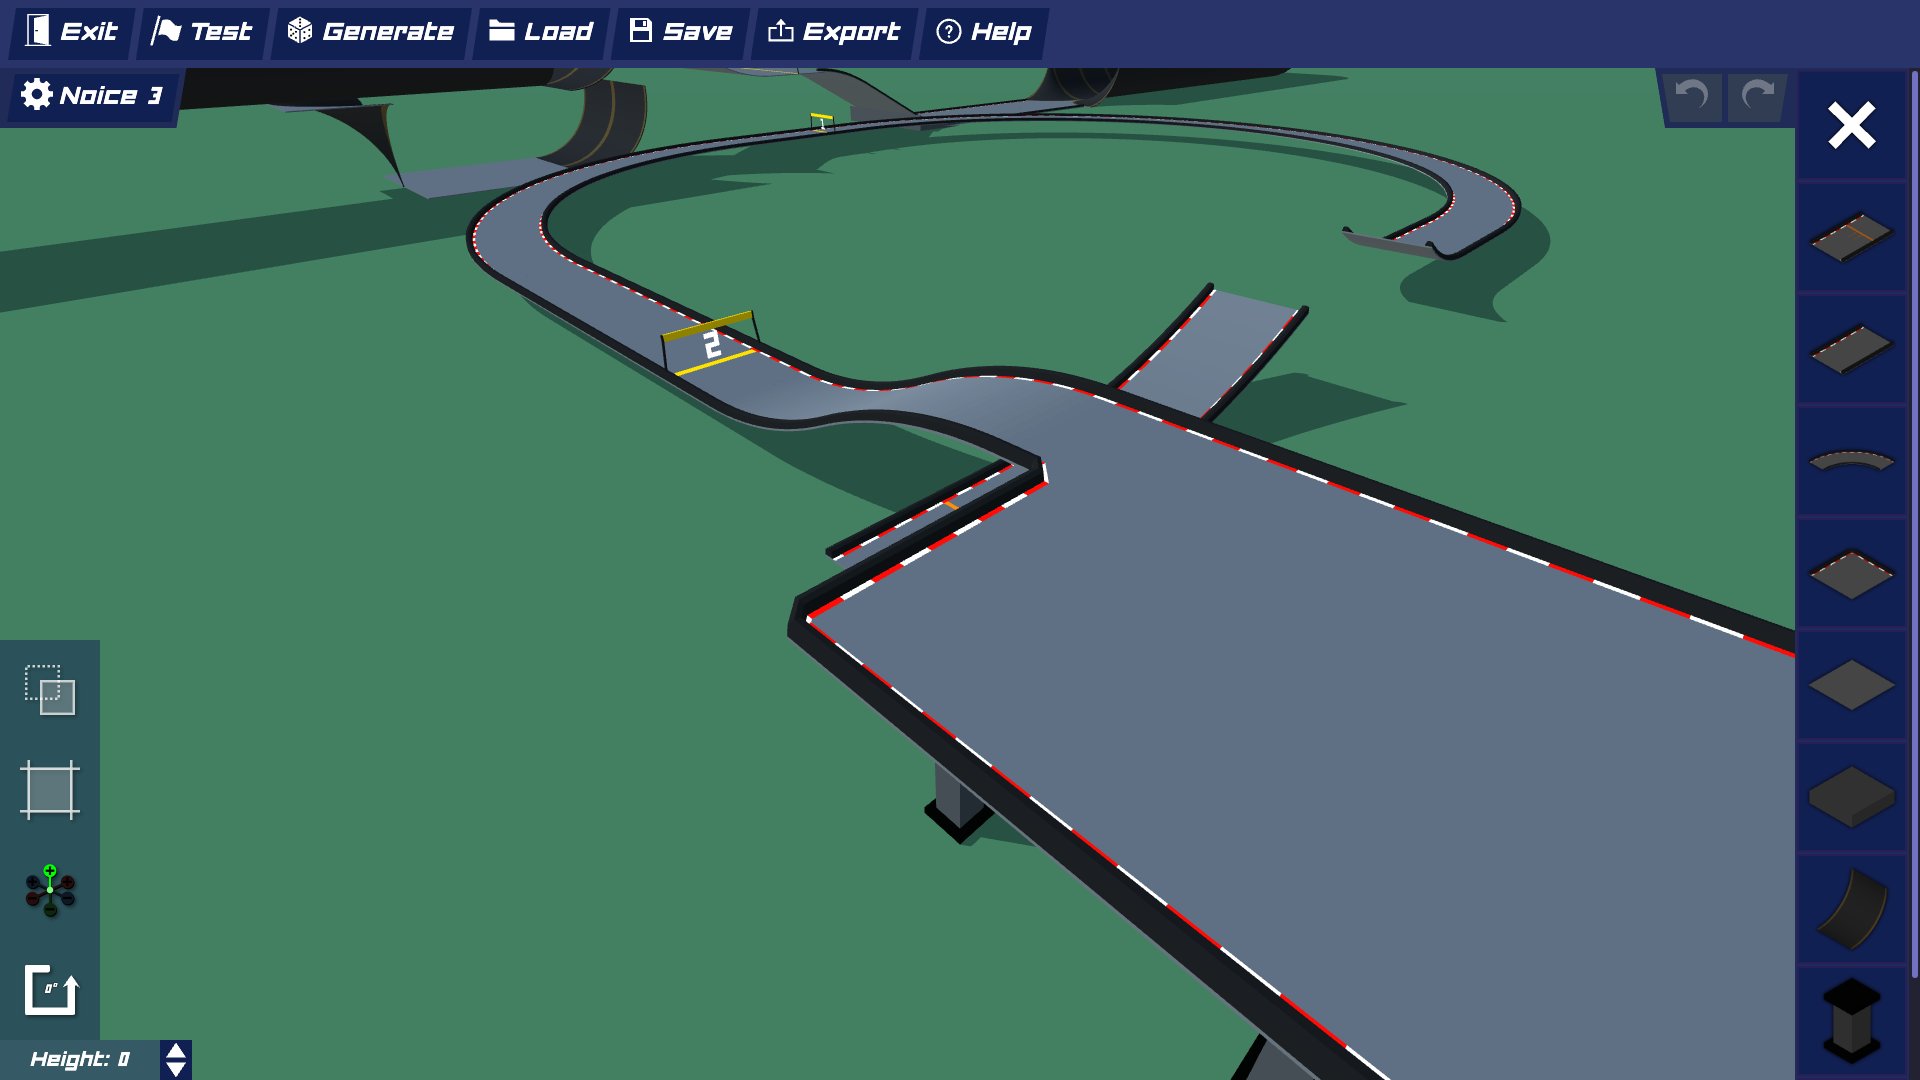
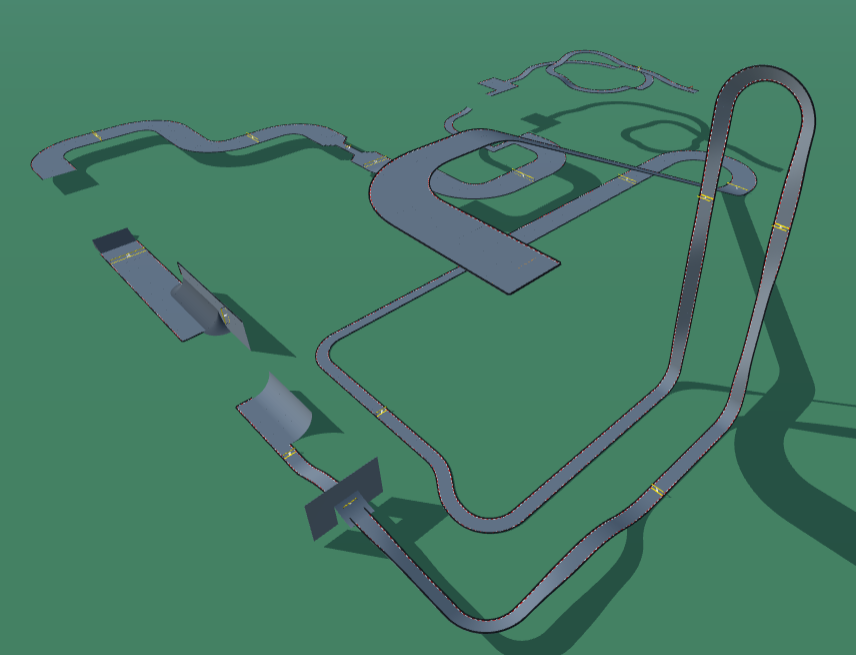
The Vibe (Overview) Buried in the metadata under the oddly casual name "Noice 3", this Hard tier Technical track is anything but "nice" if you come in unprepared. It is a grueling, calculating machine designed to punish impatience.
CategoryTechnical
DifficultyHard
CreatorCommunity
AddedNov 2025
Views9
7d Uses+1
Copy Rate78%
Track Code
How to Use This Code
- Click the "COPY CODE" button above
- Open PolyTrack in your browser
- Go to Track Editor → Import
- Paste the code and click Load
- Start Game
Content & Review Notes
Tracks on PolyTrackCodes come from community submissions and public community sources. We remove obvious spam and broken entries when reported.
Player Comments
Share driving tips, route notes, or feedback for this track.
Reviewed before publishing
Sign in to join the discussion for this track.
No published comments yet.
You Might Also Like
Hard
Flying Paradies
noname_a80
48
Uses
48
7d
+48
Rate
84%
Hard
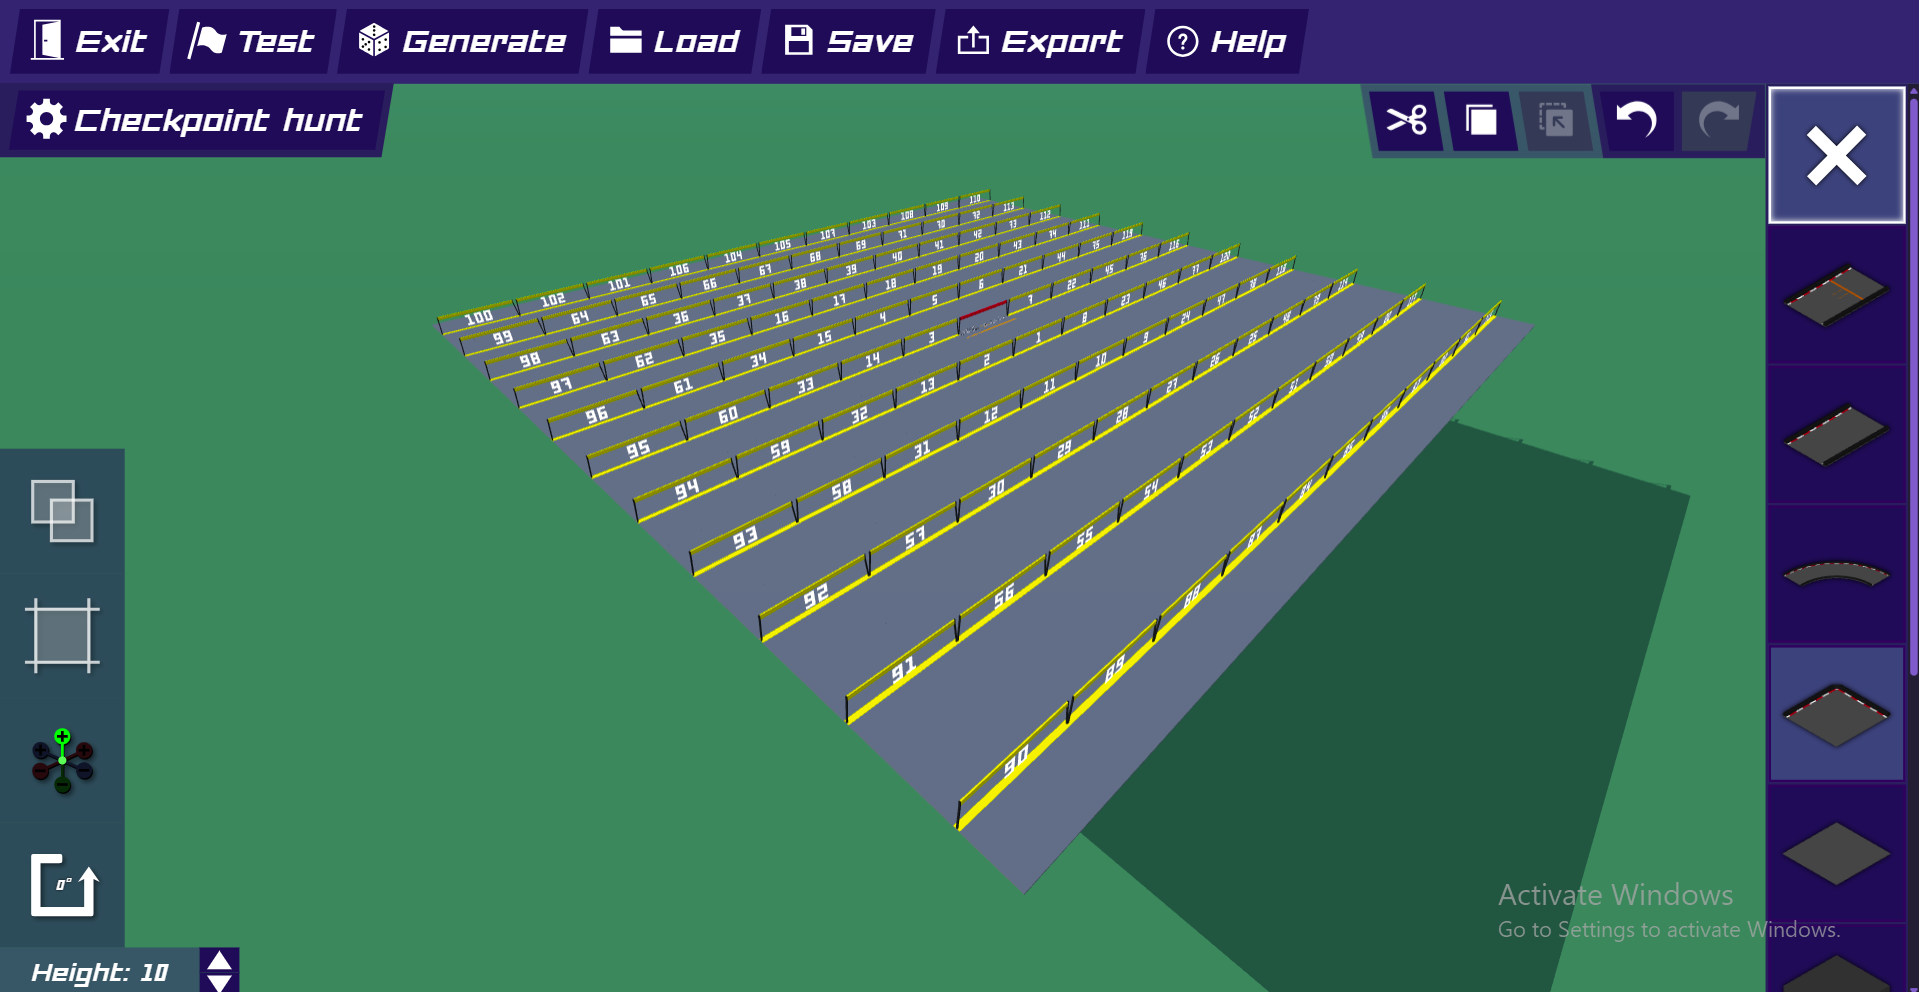
Checkpoint hunt
.-. .- -. -.. --- -- .----
13
Uses
13
7d
+13
Rate
62%

Medium
Compleatable if you try
Cac-key
23
Uses
23
7d
+23
Rate
88%
Expert
I.S.A.K.
Cad Bane/Wutrakete
38
Uses
38
7d
+38
Rate
93%
Impossible
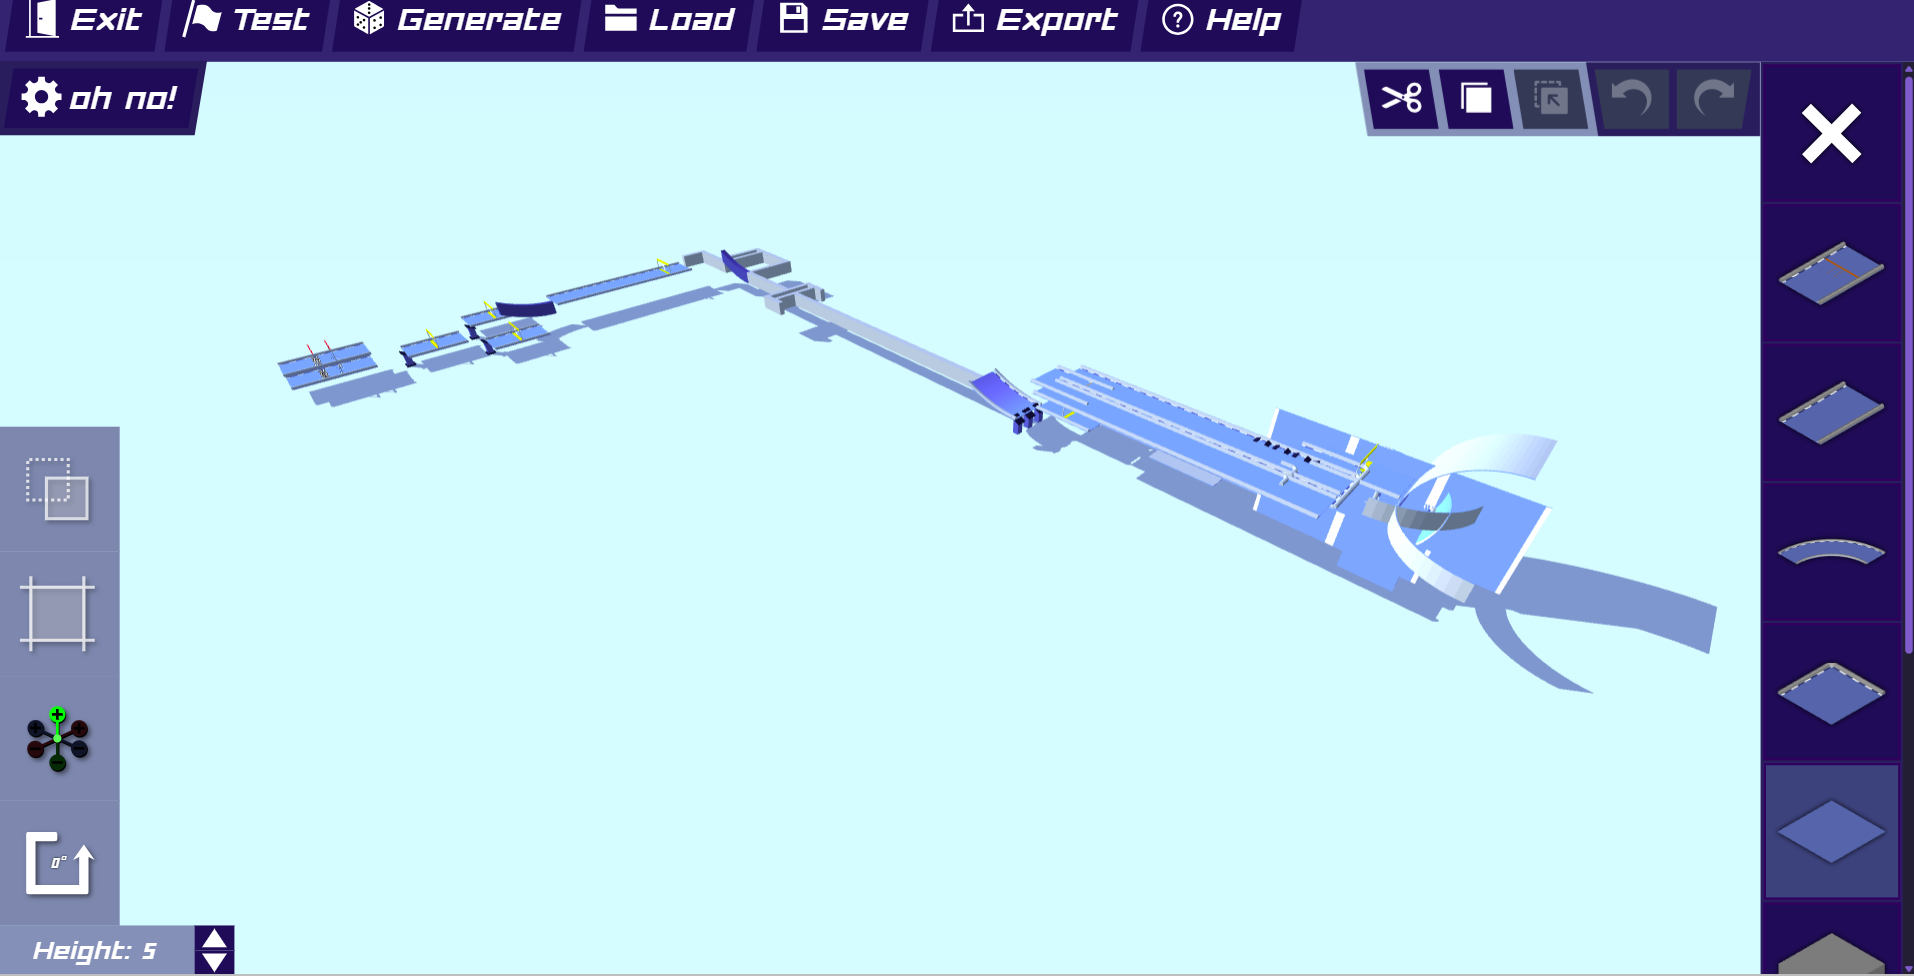
oh no!
.-. .- -. -.. --- -- .----
21
Uses
21
7d
+21
Rate
95%
Expert
The Track 2
Jack
80
Uses
80
7d
+78
Rate
80%