PolyTrack Stunt Mastery: The 2025 Aerial Manual
In the world of PolyTrack, racing on flat asphalt is only half the story. The true technical depth of the game reveals itself when the tires leave the ground. Whether you are facing a massive vertical loop, a 50-meter gap jump, or a complex series of corkscrews, mid-air control is what separates the casual racers from the world-record holders.
This 2500+ word technical guide will dismantle the physics of stunt racing and provide you with a systematic approach to mastering the air. In 2025, as community track designs become increasingly intricate, understanding the "why" behind car rotation is as important as the "how."
Chapter 1: The Physics of the Void—Understanding Aerial Rotation
Unlike traditional racing sims, PolyTrack treats your vehicle as a highly responsive rigid body in a 3D vacuum once airborne. To control the car, you must master the three fundamental axes of rotation.
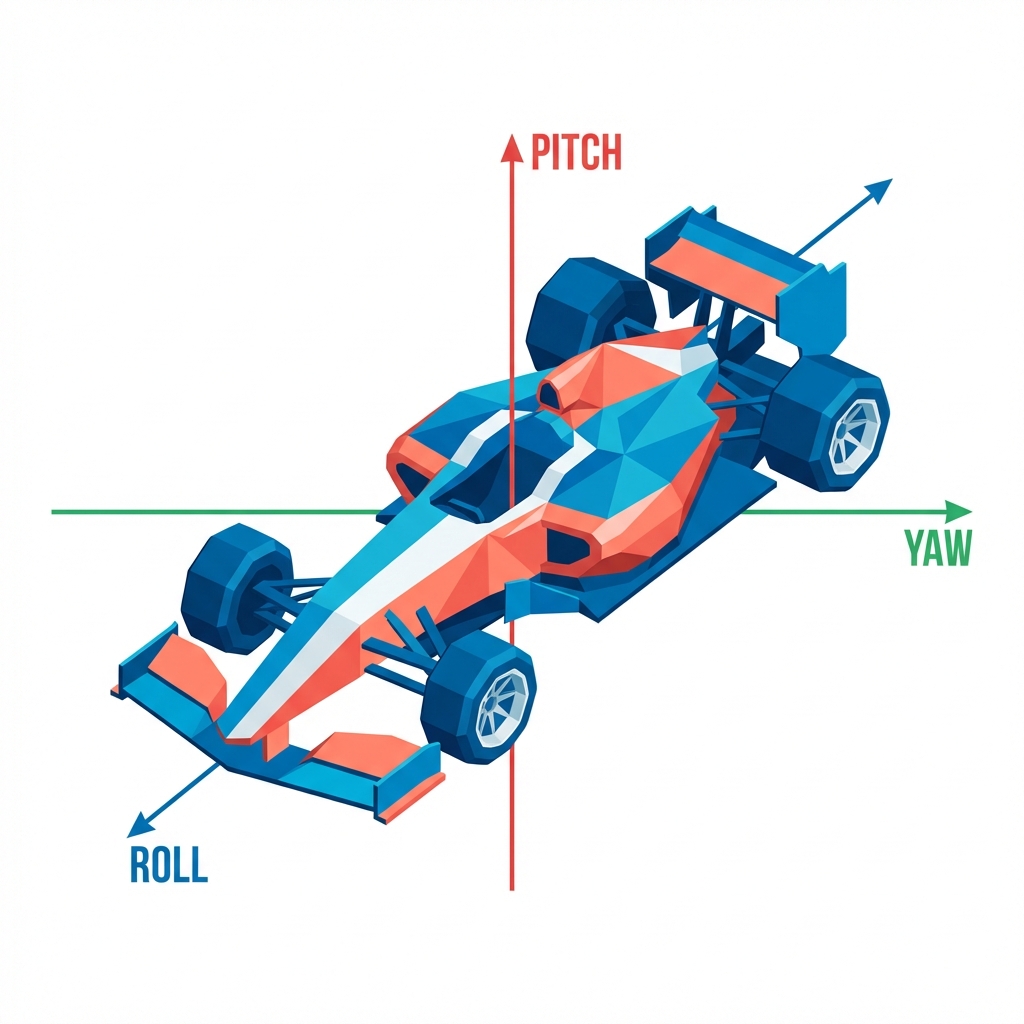
1. Pitch (The W & S Keys)
Pitch is the rotation around your car's side-to-side axis.
- Nose Down (W): Crucial for matching the angle of steep downhill landings.
- Nose Up (S): Essential for horizontal weight transfer and initiating backflips.
2. Roll (The A & D Keys)
Roll is the rotation around the longitudinal axis (the front-to-back line).
- Corrective Rolling: Used when a ramp sends you off-balance.
- Trick Rolling: The foundation of the barrel roll. Mastering the roll rate is the key to landing flat on narrow platforms.
3. Yaw (The Resultant)
While PolyTrack doesn't have a dedicated yaw (side-to-side horizontal spin) key in the air, yaw occurs as a secondary effect of your takeoff angle and momentum. Managing accidental yaw is often the difference between a clean landing and a catastrophic spin-out.
Chapter 2: The Loop Legend—Centripetal Force vs. Gravity
The loop is the most iconic stunt element, yet it claims more racers than any other obstacle. Most players fail because they don't understand the "Critical Velocity" required to maintain contact.
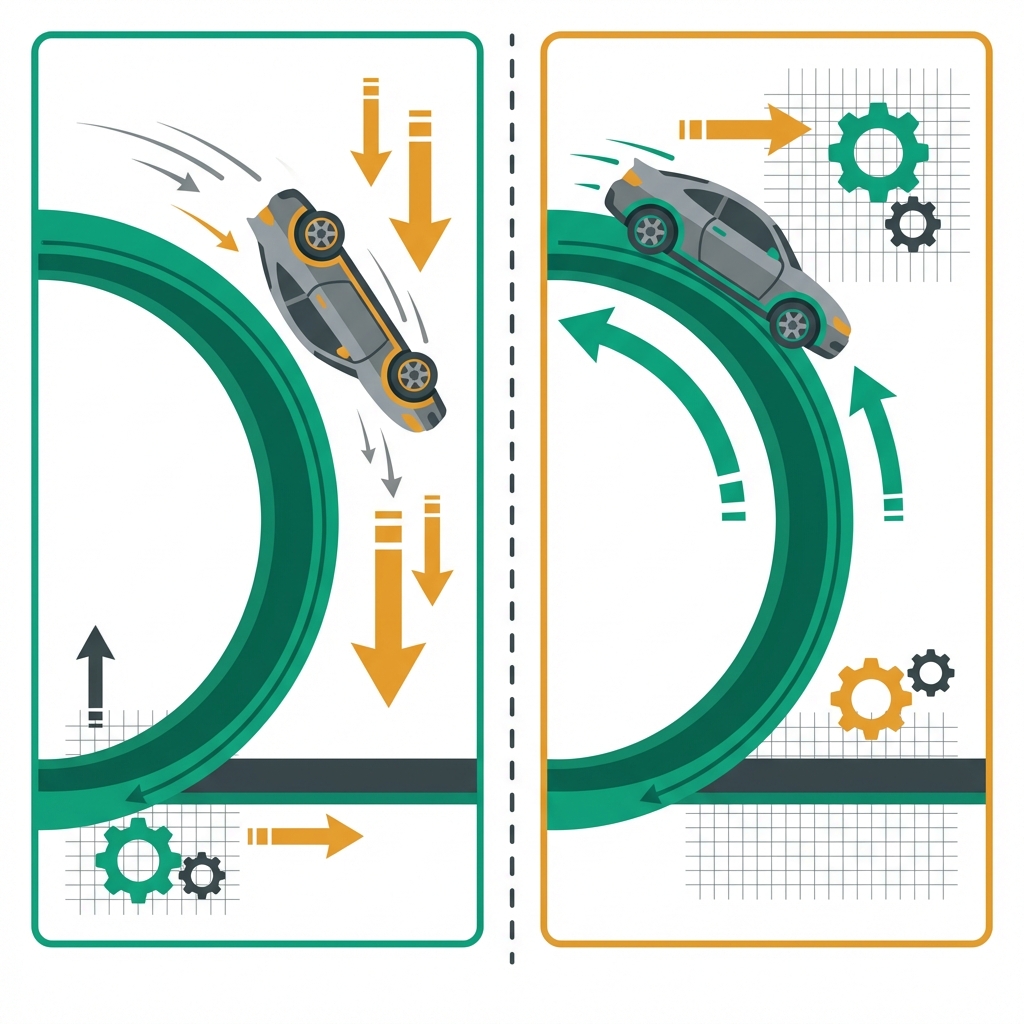
The Physics of the Apex
At the very top of a loop, your car is fighting a two-front war. Gravity (G) is pulling you toward the ground, while Centripetal Force (produced by your velocity) is pushing you against the track.
- The Outcome: If your speed is below the threshold, the tire friction drops to zero, and the physics engine calculates a "detach" state.
- The Solution: Always enter loops with at least 10% more speed than you think you need. Any steering input inside the loop creates drag, which can drop your speed below the critical threshhold.
Chapter 3: The Perfect Jump Cycle—A Four-Phase Framework
A jump in PolyTrack is not a single event; it is a lifecycle. To optimize your time, you must break the jump into four distinct phases.
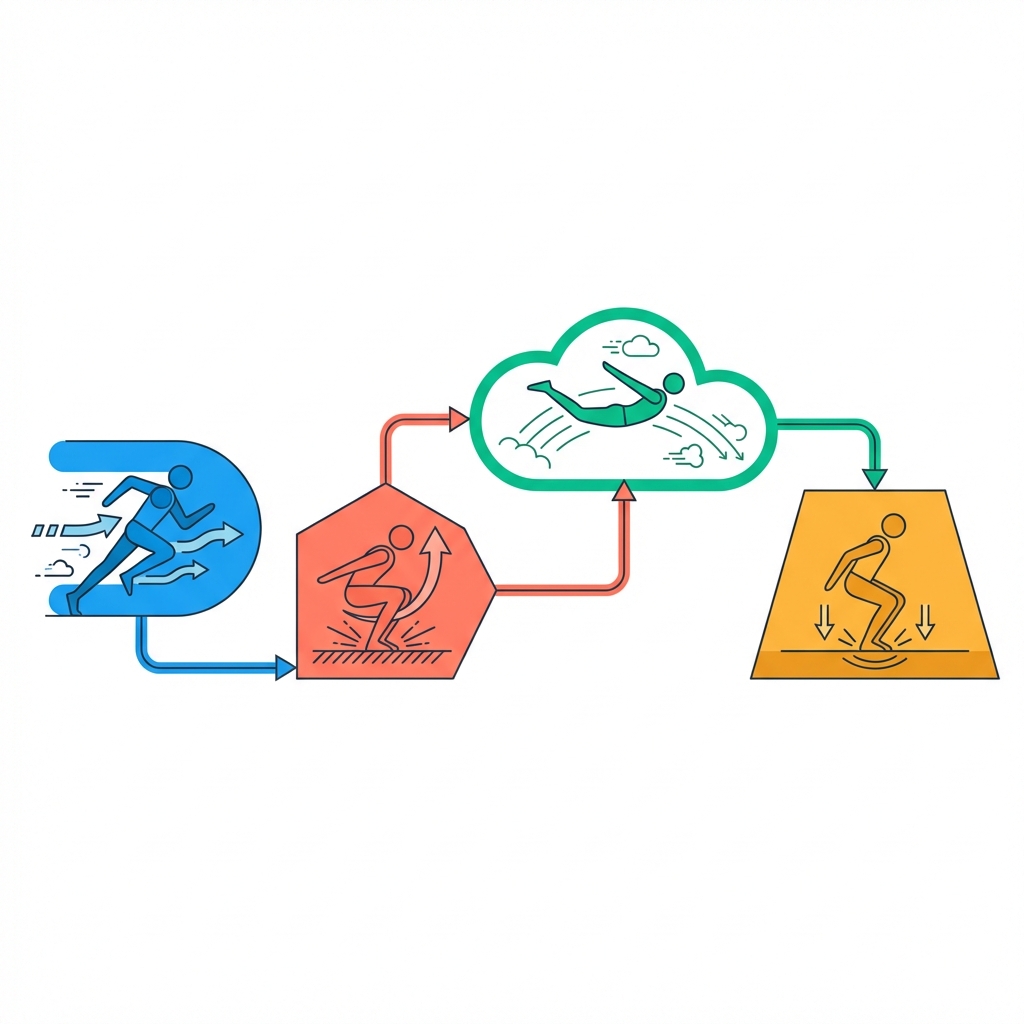
Phase 1: The Approach (The Foundation)
Your success is determined before you even hit the ramp.
- Alignment: Are you perfectly centered? A 1-degree offset at 200 km/h results in a 5-meter lateral drift mid-air.
- Speed Modulation: Using the "brake-tap" method to hit the exact speed window for narrow landings.
Phase 2: The Takeoff (The Launch)
The exact moment your front wheels leave the ramp is when the physics engine locks in your initial trajectory.
- Neutral State: Avoid steering inputs at the exact moment of takeoff to prevent unwanted yaw.
Phase 3: The Flight (The Micro-Adjustment)
This is where the magic happens. Use the visual cues from your car's shadow to gauge height.

Phase 4: The Landing (Momentum Preservation)
The goal is "Zero Impact." You want all four wheels to touch the surface at an angle that matches the terrain exactly.
Chapter 4: The Geometry of Impact—Landing Angle Mastery
Matching your car's angle to the landing surface is the most efficient way to maintain speed. A "flat" car landing on a 30-degree downhill ramp causes a massive frame-drop in velocity as the physics engine calculates a collision rather than a transition.
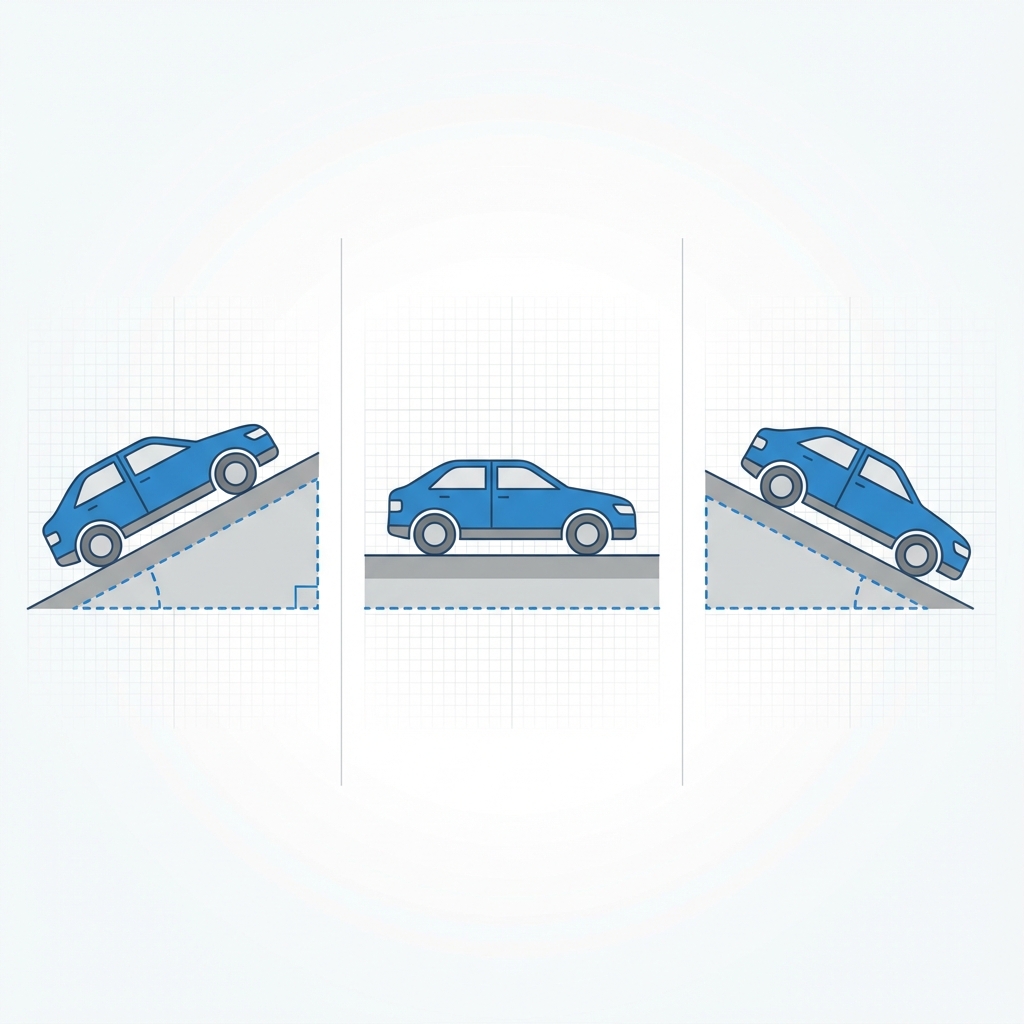
- Uphill Landing: Nose Up. Aim for the rear wheels to touch slightly before the front to settle the suspension.
- Downhill Landing: Nose Down. This is the hardest to master. You must aggressively pitch forward (W) to align the chassis with the slope.
- Flat Landing: Perfectly Level. Use the horizon line as your guide.
Chapter 5: Advanced Trick Execution—Timing the Window
Tricks are not just for style; they are often the only way to re-orient the car in complex multi-jump sections.
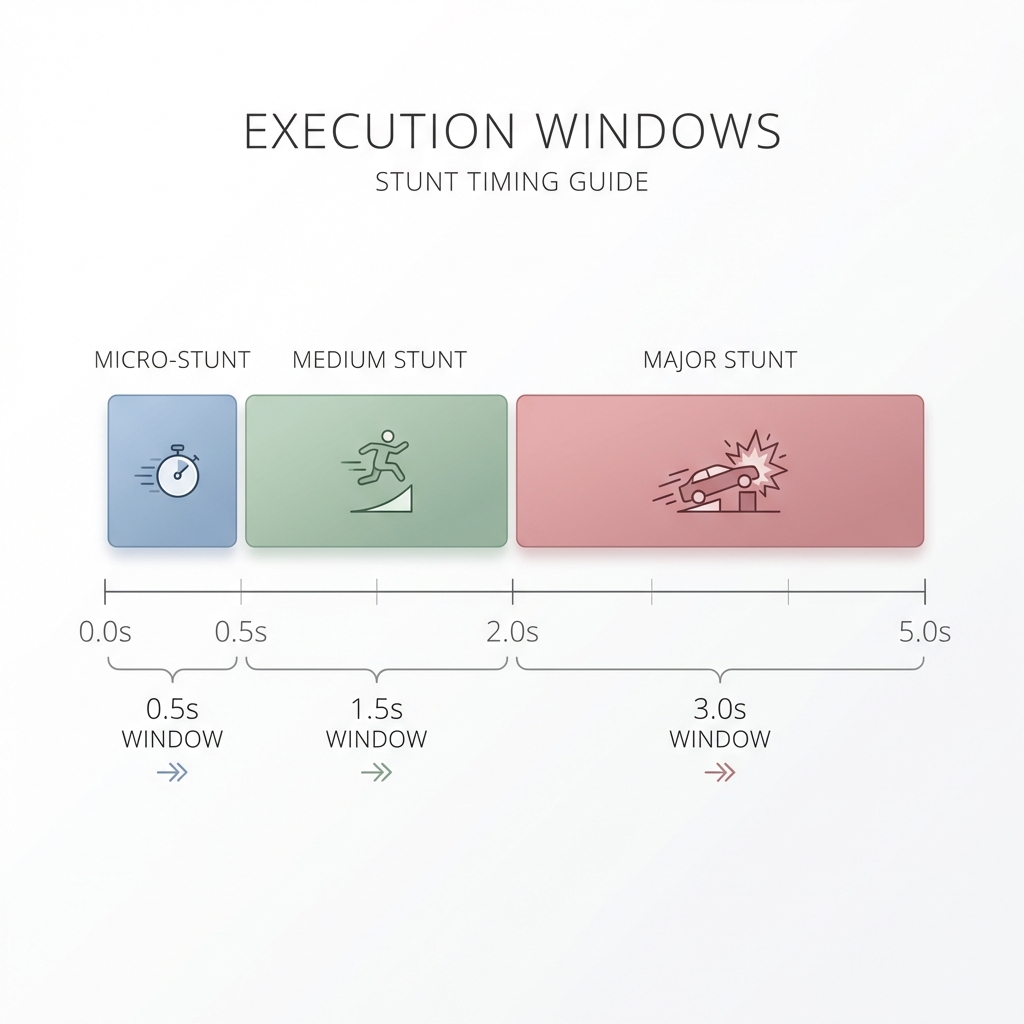
The 1.5s Barrel Roll
To execute a clean 360-degree roll, you need a minimum of 1.5 seconds of air time. If you initiate the roll at the apex (highest point), you only have half that time to recover.
- Pro Tip: Initiate the roll immediately upon takeoff. This uses the entire flight arc for the rotation, giving you a wider window to level out.
The Clipped Double
On massive drops, a double rotation is possible. The secret is "Pitch-Roll Coupling"—holding both S and D simultaneously to create a corkscrew motion which rotates faster than a standard roll.
Chapter 6: Recovery Logic—What to do when the Stunt Fails
Every pro racer crashes. The difference is how quickly they recover. When you realize your angle is wrong, you have milliseconds to decide on a recovery strategy.
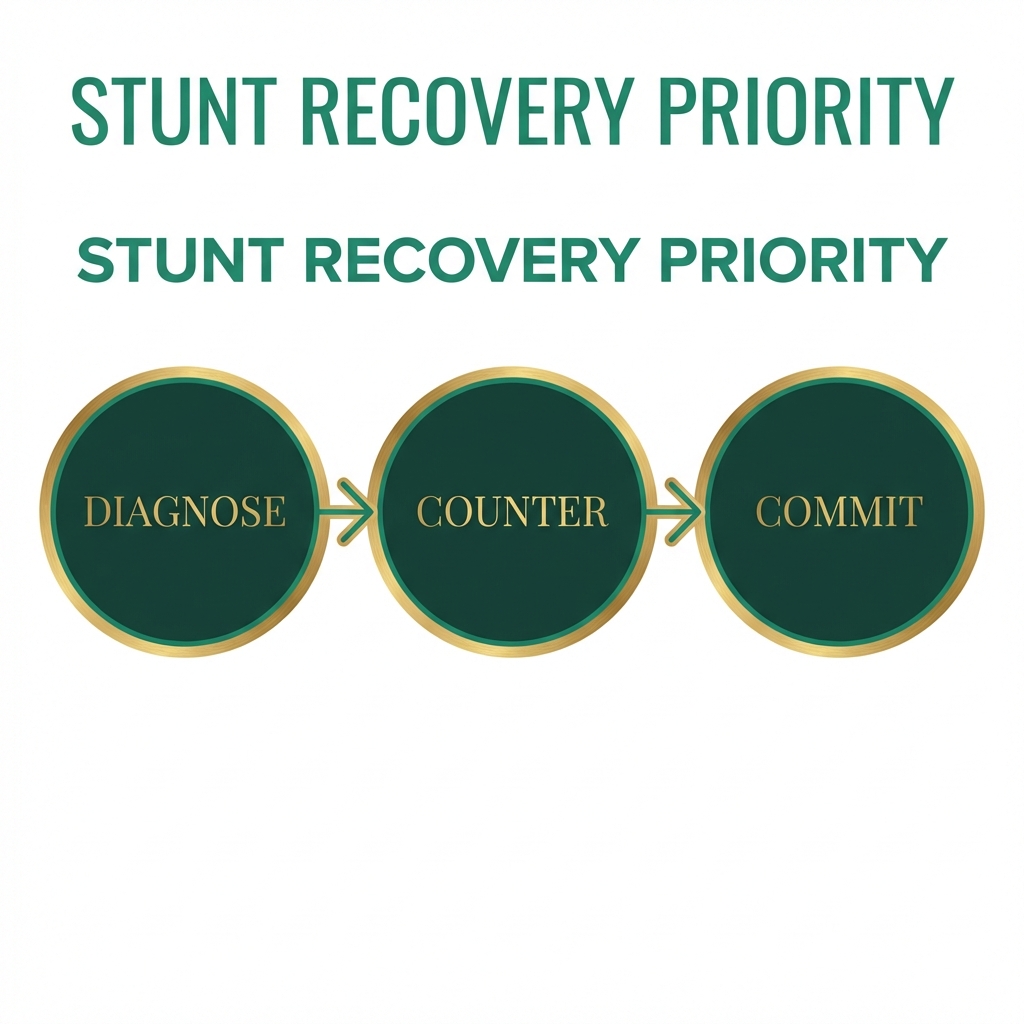
- Diagnose: Is the failure in Roll or Pitch?
- Counter: Apply the max opposite input for 100ms.
- Commit: If the recovery is impossible, prioritize landing on your wheels regardless of the track orientation. Landing upside down is an automatic reset; landing on wheels allows for a "skid-recovery."
Chapter 7: Categorizing the Stunt World
Not all stunt tracks are created equal. Understanding the "Spectrum of Stunts" helps you choose the right car setup and mental approach.

- Speed Stunts: Focus on loops and long broad jumps. High velocity, low frequency of input.
- Technical Stunts: Focus on "needle threading" and precision landings. Low velocity, high frequency of complex inputs.
Chapter 8: Pro Practice Drills
To reach the 2500+ word level of mastery, you must move from theory to drill-based practice.
Drill A: The 100% Landing Rate
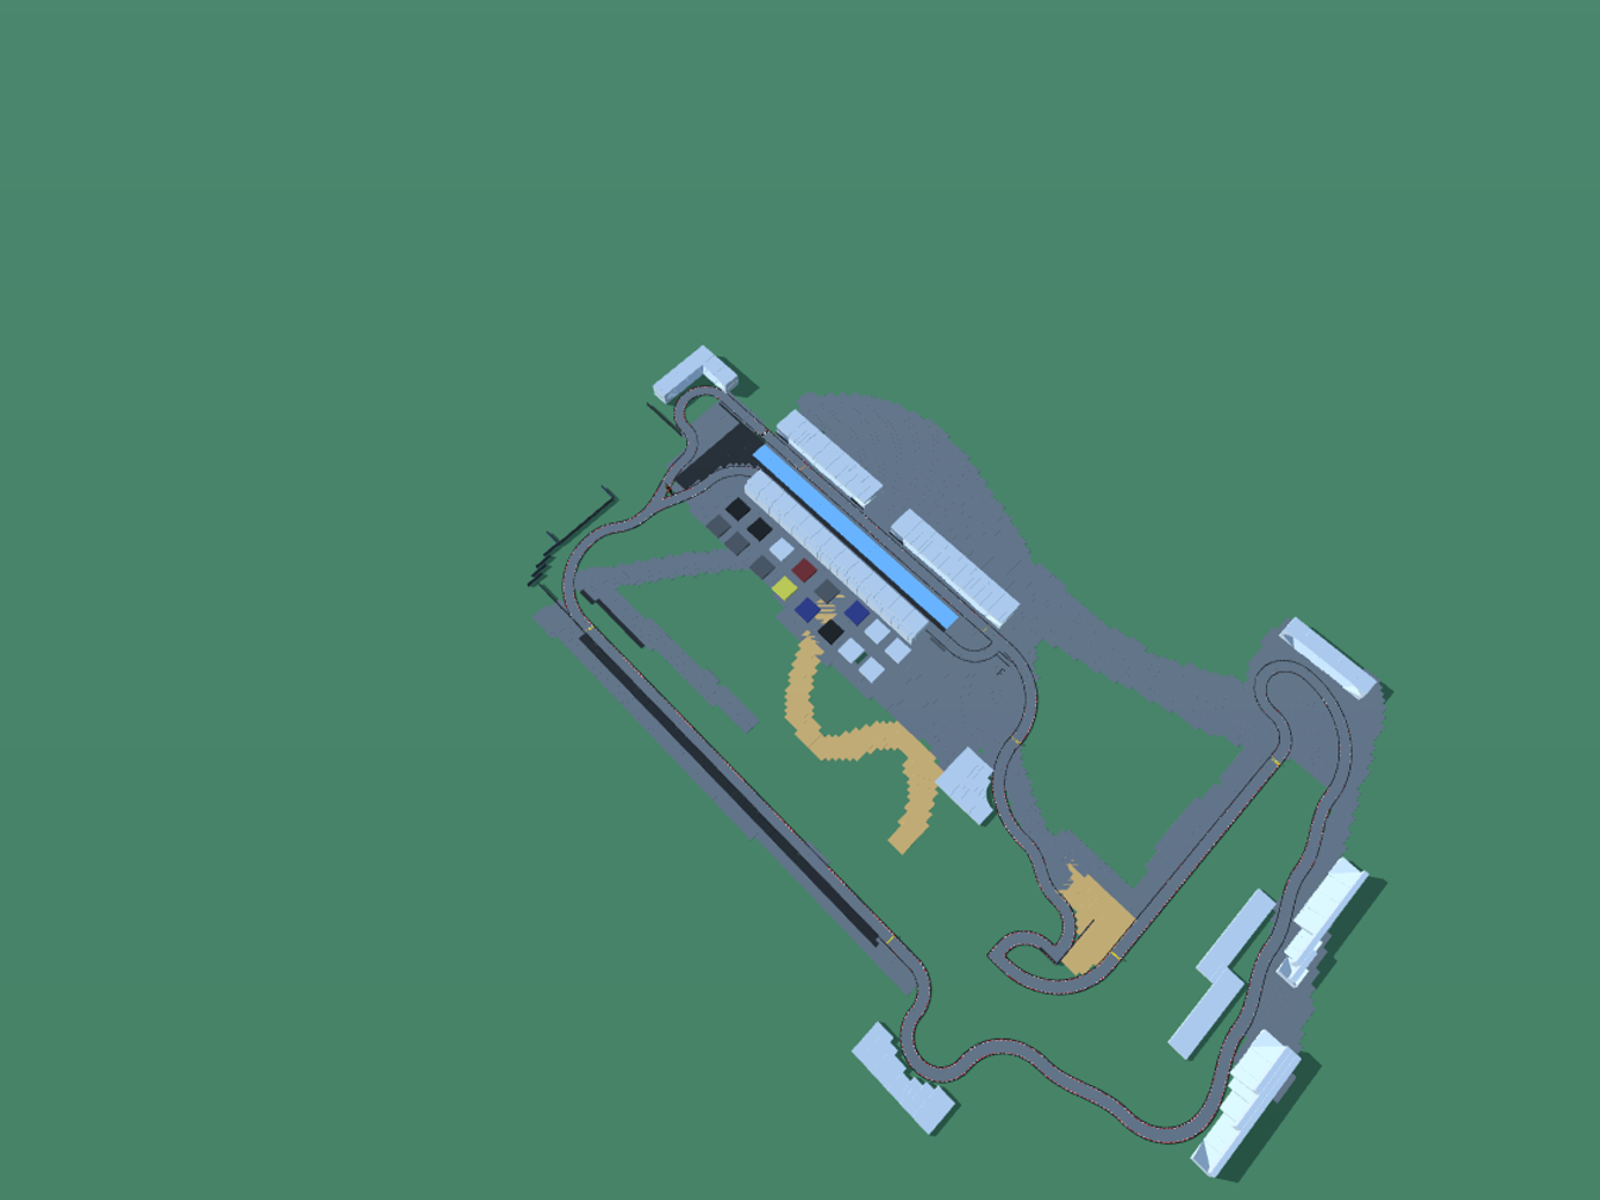
Find a basic ramp (like the one in Track #71). Perform 50 jumps in a row. The goal is not speed, but achieving a "Green Spark" landing (perfect angle match) every single time.
Drill B: The Mid-Air Stall
Take a high-speed jump and purposely rotate the car 180 degrees into a backflip, then try to counter-rotate back to level before landing. This builds the reflexive "Air Sense" needed for world-record saves.
FAQ: Troubleshooting the Air
Q: Why does my car always roll to the left after a high-speed jump? A: This is often caused by minuscule steering inputs at the moment of takeoff. Ensure your steering is at absolute zero (neutral) for the last 0.1s of the ramp approach.
Q: Can I use the brake in the air? A: In the 2025 PolyTrack physics update, the brake key in the air acts as an "Air Brake" that slowly kills all rotational momentum. Use it to "lock" a perfect angle once you've achieved it.
Conclusion: The Sky is the Limit
Mastering stunts in PolyTrack is a transition from being a driver to being an engineer of momentum. By understanding the axes of rotation, the optimization of the jump cycle, and the logic of recovery, you turn the "chaos" of a 50-meter drop into a calculated maneuver.
The next time you approach a giant loop or a cross-map gap, remember: the physics are on your side if you know how to talk to them.
See you in the stratosphere! 🚗✈️