How to Design Amazing PolyTrack Tracks: Pro Creator Secrets
Creating a great PolyTrack track is both an art and a science.Anyone can slap some pieces together, but crafting an experience that players will download, enjoy, and remember ? That takes skill, knowledge, and creativity.
This comprehensive guide reveals the secrets behind the most successful community tracks.Whether you are a complete beginner or an experienced creator looking to level up, these principles will transform your designs.
Part 1: Understanding Track Design Philosophy
What Makes a Great Track ?
- Before placing a single piece, understand what separates good tracks from great ones:
** 1. Flow ** - The best tracks feel like a dance.Each section leads naturally into the next.Players should feel like they are in rhythm with the track.
** 2. Challenge Balance ** - Too easy = boring.Too hard = frustrating.The sweet spot keeps players engaged without overwhelming them.
** 3. Visual Identity ** - Great tracks have a distinctive look.They create atmosphere and tell a story through their design.
** 4. Replayability ** - Players should want to run your track again and again, always finding small ways to improve.
** 5. Fairness ** - Challenges should be visible and learnable.Surprise deaths = bad design.
Part 2: The Track Design Process
Step 1: Concept Development
Before opening the editor, answer these questions:
** What type of experience am I creating ?** - -Speed track(high velocity, few obstacles) - -Technical track(corners, precision driving) - -Stunt track(jumps, aerial sections) - -Drift track(controlled sliding) - -Hybrid(mix of styles)
                -                  ** What difficulty level ?**
                    -                     -Easy(new players can complete)
                    - -Medium(requires practice)
                    - -Hard(challenges experienced players)
                    - -Expert(significant time investment)
                    - -Impossible(elite only)

                    -                      ** What is my "hook" ?**
                        -                          Every memorable track has a signature element—something players remember and talk about.
Step 2: Layout Sketching
Before building, sketch your track layout on paper or digitally:
-Draw the general path from start to finish - -Mark key sections(big jump, technical section, finale) - -Note elevation changes - -Identify potential flow issues
This saves hours of rebuilding in the editor.
Step 3: Initial Construction
Build your track in rough form first: -Use simple pieces - -Focus on the path, not details - -Test frequently - -Do not worry about visuals yet
Step 4: Playtesting and Refinement
Your first version will have problems.That is normal.
** Self - Testing:** - -Can you complete it consistently ? - -Are there frustrating sections ? - -Does the flow feel right ? - -Is the difficulty consistent ?
** External Testing:** - -Share with friends - -Post in testing channels - -Accept ALL feedback, even harsh criticism
Step 5: Polish and Finalization
Once the gameplay is solid: -Add visual details - -Fine - tune piece placement - Create atmosphere - Optimize performance
Part 3: Layout Principles
The Golden Ratio of Corners
A well - designed track balances corner types:
** Fast / Sweeping Corners: 40 %** -Keep energy high - Maintain momentum - Allow brief mental rest
            ** Medium Corners: 35 %**
                -Require skill but not maximum effort
                    - Build rhythm

                        ** Tight / Technical Sections: 25 %**
                            -Demand precision
                                - Create challenge peaks
                                    - Memorable moments
Elevation Design
** Climbing Sections:**
    -Slow the pace naturally
        - Create anticipation
            - Reward with descent

            ** Descending Sections:**
                -Build speed
                    - Feel exciting
                        - Require control

                            ** Flat Sections:**
                                -Allow recovery
                                    - Set up for next challenge
                                        - Should not be boring—add slight curves
Jump Placement Principles
** Entry Preparation:**
    -Give players time to align
        - Clear visual indicators
            - Consistent approach

                ** Air Time:**
                    -Short hops: keep momentum
                        - Medium jumps: allow adjustment
                            - Big jumps: create spectacle

                                ** Landing Requirements:**
                                    -Match car angle to landing angle
                                        - Generous landing zones for important jumps
                                            - Punishing landing zones for optional shortcuts
Part 4: Creating Flow
Flow is the invisible quality that makes tracks feel good.Here is how to achieve it:
Visual Flow
** Sightlines:**
    Players should see what is coming.Clear views reduce frustration.
** Color Consistency:** Use consistent colors for similar elements.Blue = boost, red = danger, etc.
** Directional Clarity:** It should always be obvious which way to go.
Physical Flow
** Momentum Conservation:**
    Avoid designs that unnecessarily kill speed.
** Natural Transitions:** Corners should lead into straights; jumps should land into curves.
** Rhythm:** Create repeating patterns.Challenge, rest, challenge, rest.
Psychological Flow
** Progressive Difficulty:**
    Start easier, build to climax, provide resolution.
** Checkpoint Placement:** Save player progress at fair intervals.
** Visible Goals:** Players should see what they are working toward.
Part 5: Common Design Mistakes
Mistake 1: Invisible Hazards
** Problem:** Players die to obstacles they could not see coming.
** Solution:** Always provide visual warning.If a wall appears around a blind corner, add warning signs or widen the view.
Mistake 2: Inconsistent Difficulty
** Problem:** Track alternates randomly between too easy and too hard.
** Solution:** Map your difficulty curve.Build gradually, with intentional peaks.
Mistake 3: Boring Straights
** Problem:** Long sections with nothing to do.
** Solution:** Add gentle curves, visual interest, boost pads, or slight elevation changes.
Mistake 4: Impossible Required Sections
** Problem:** A section is so hard that most players cannot progress.
** Solution:** Test with players of your target skill level.If 80 % + fail repeatedly, redesign.
Mistake 5: Visual Clutter
** Problem:** Too many distracting elements.
** Solution:** Use decoration sparingly.Gameplay clarity first.
Part 6: Advanced Techniques
Creating Memorable Moments
** The Signature Jump:**
    Design one jump that players will remember.It should be visually impressive, satisfying to execute, and unique to your track.
** The Technical Gauntlet:** A challenging section that tests skills.Keep it fair but demanding.
** The Twist:** Subvert player expectations.A sudden change in direction, environment, or challenge type.
Multi - Path Design
Offer players choices:
** Skill Paths:** -Easy path: longer but safer - Hard path: shorter but risky
        ** Aesthetic Paths:**
            -Multiple routes through the same section
                - All balanced in difficulty
Visual Storytelling
Your track can tell a story through:
- Environment changes(start in one area, end in another)
- Progressive visual themes
- Symbolic elements
- Progressive visual themes
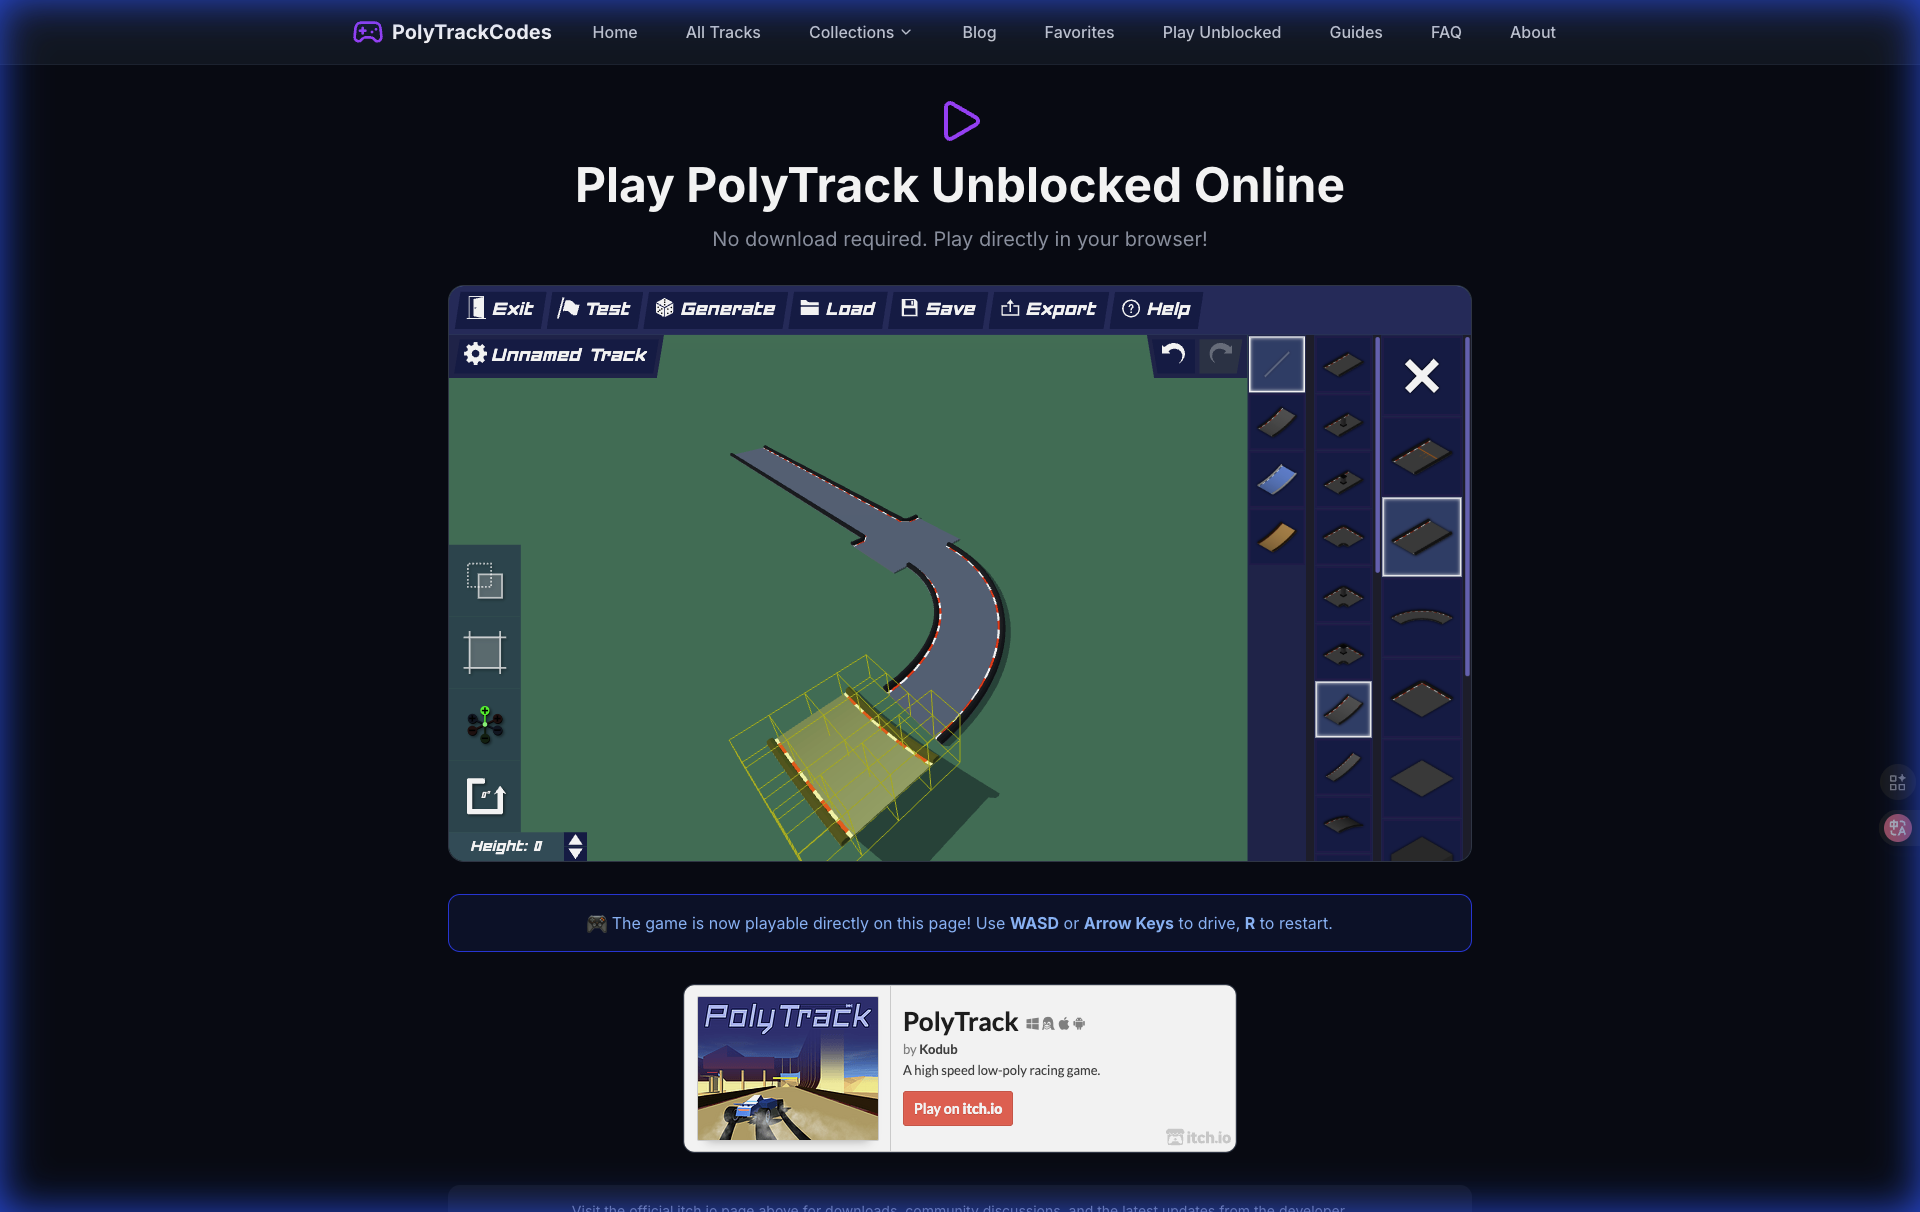
Part 7: The Editor Deep Dive
Essential Editor Tools
** Piece Selection:**
    -Memorize keyboard shortcuts
        - Organize your favorites
            - Know every piece category

                ** Alignment:**
                    -Use grid snapping for clean connections
                        - Disable snap for organic curves
                            - Master rotation controls

                                ** Testing:**
                                    -Learn to quick - test without full restart
                                        - Set spawn points for section testing
                                            - Use slow - motion for analysis
Hidden Features
** Floating Pieces:**
    Not all pieces need connections.Use floating elements for scenery.
** Invisible Barriers:** Guide players without visible walls.
** Trigger Zones:** Some pieces trigger events.Learn which ones.
Part 8: Optimization and Performance
Track Complexity
Every piece affects performance.For smooth gameplay:
- Limit total piece count
- Avoid unnecessary decoration
- Test on lower - end devices if possible
- Avoid unnecessary decoration
Piece Efficiency
** Use larger pieces:**
    One big curve = better than five small segments.
** Minimize overlap:** Overlapping pieces can cause visual and physics issues.
** Clean connections:** Gaps and misalignments look bad and can affect driving.
Part 9: Publishing and Promotion
Before Publishing
** Final Checklist:**
    -Complete front to back without issues
        - Test from both checkpoint restarts
            - Verify all visual elements
                - Confirm appropriate difficulty rating

                    ** Metadata:**
                        -Clear, searchable title
                            - Accurate category assignment
                                - Good difficulty setting
Post - Publishing
** Community Engagement:**
    -Share in Discord channels
        - Post on Reddit with context
        - Create short video preview

            ** Feedback Integration:**
                -Monitor comments
                    - Update track based on feedback
                        - Thank players for suggestions

                            ** Marketing Your Track:**
                                -Create thumbnail images
                                    - Write compelling descriptions
                                        - Tag appropriately
Part 10: Learning from the Masters
Studying Popular Tracks
Every week, analyze top tracks:
** Questions to Ask:** -Why is this track popular ? -What is the signature moment ? -How does difficulty progress ? -What techniques can I learn ?
Reverse Engineering
Take apart great tracks in your mind:
- How are sections connected ? -Where are the decision points ? -What creates the atmosphere ?
Community Involvement
Join track creation communities:
- Share work -in -progress
- Request specific feedback
- Collaborate with other creators
- Request specific feedback
Conclusion: The Creator Journey
Track design is a skill that develops over time.Your first tracks will have problems—that is how you learn.The key is to keep creating, keep testing, and keep improving.
** Your Creator Roadmap:**
-Tracks 1 - 5: Learn the editor, make mistakes
    - Tracks 5 - 10: Apply basic principles
        - Tracks 10 - 20: Develop your style
            - Tracks 20 +: Create memorable experiences

                ** Remember:**
                    -Every great creator started as a beginner
                        - Feedback is a gift, not an insult
                            - The community wants you to succeed
                                - Your unique perspective is valuable
Now open that editor and start creating! 🏗️
Resources
** Getting Started:**
    -[Track Editor Guide](/guides/how - to - create - tracks)
    - [Import / Export Help](/guides/how - to -import -track - codes)

    ** Inspiration:**
        -[Browse Popular Tracks](/tracks?sort=popular)
        - [Browse Popular Tracks](/tracks?sort=popular)

        ** Share Your Creations:**
            -[Submit Your Track](/submit)
Happy building! 🎮