PolyTrack Physics: The Hidden Complexity of Low-Poly Racing
At first glance, PolyTrack’s minimalist, low-poly aesthetic might suggest a simple arcade racer. However, beneath the hood lies a surprisingly nuanced physics engine that rewards drivers who understand the underlying mechanics of motion, traction, and inertial stability.
True mastery in PolyTrack isn't just about reflexes; it’s about becoming a 'kinetic strategist.' This guide moves beyond the basics to explore how momentum, grip budget, and load transfer dictate your performance on the leaderboards.
The Inertial System: Momentum as Your Primary Resource
In PolyTrack, speed is more than a number—it’s a representation of stored energy. Because the engine prioritizes Newtonian motion, the most important rule is that momentum is expensive to gain but easy to lose.
Unlike arcade racers that allow for instant recovery after a wall tap, PolyTrack’s simulation of conservation of momentum means that every collision redirects or dissipates your kinetic energy. Understanding this turns every corner into a calculation: how much speed can I carry without exceeding the car's structural or frictional limits? Top-tier players don't just 'take turns'; they manage a continuous flow of potential and kinetic energy.
The Friction Circle: Managing Your Grip Economy
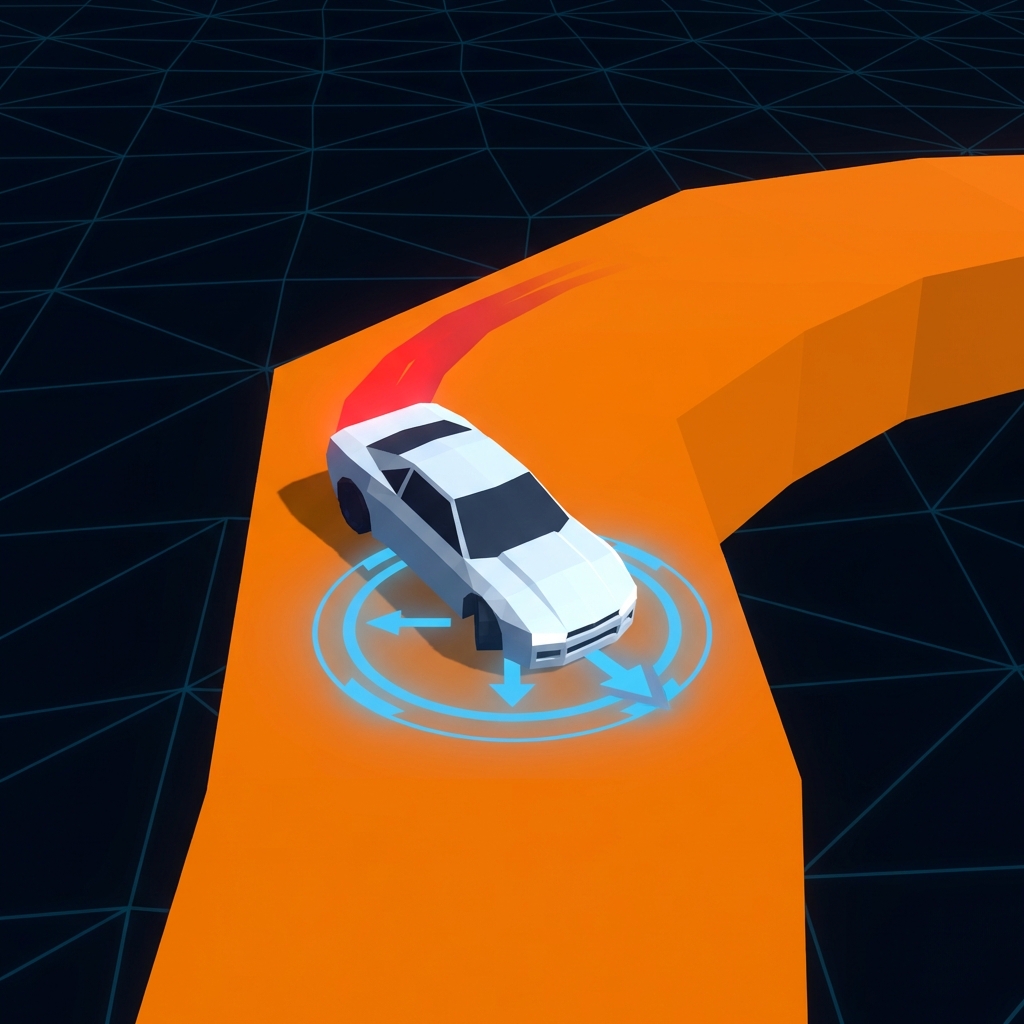
The most critical concept to master is the Grip Budget. Your car’s contact with the track is finite. Think of grip as a standard circle: if you use 100% of your tires' capability for acceleration, you have 0% left for steering.
This 'Friction Circle' explains why accelerating hard out of a tight corner often leads to understeer (the front wheels slipping). To optimize your line, you must learn to transition between forces. This involves 'trail-braking'—gradually easing off the brakes as you turn into an apex—allowing the grip budget to transition smoothly from deceleration to lateral cornering force.
Surface Dynamics
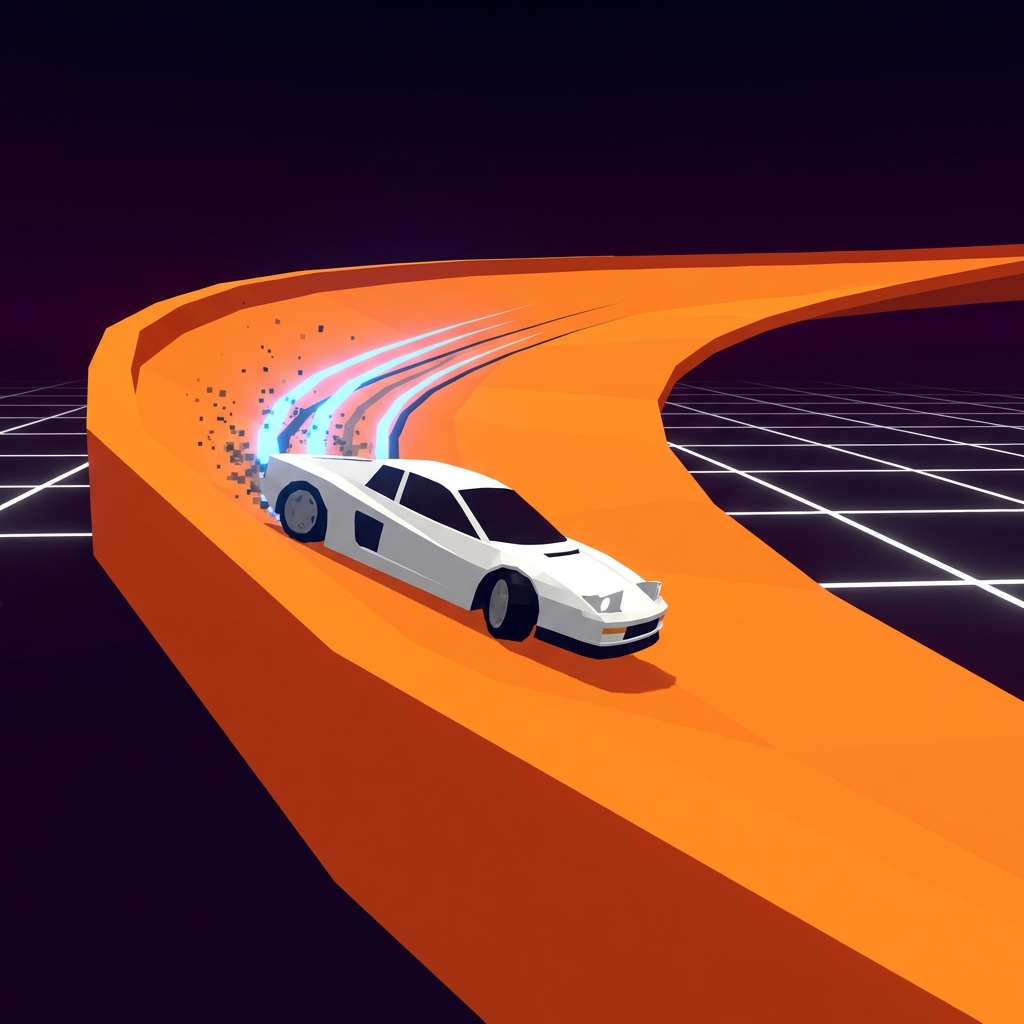
Surface coefficients further complicate this economy. Standard tarmac provides a 100% baseline, while boost pads—ironically—often reduce effective grip to roughly 80%. This is why the car feels "jittery" or unstable over boost sections; the increased velocity is fighting a diminished frictional limit.
Load Transfer: Car Attitude and Balance
Your car isn't a static box; it’s a dynamic platform that pitches and rolls. Understanding Weight Transfer is how you manipulate grip on demand.
- Under Braking: The car's nose dives, shifting weight to the front wheels. This increases 'turn-in' bite, making the car more responsive at the start of a corner.
- Under Acceleration: Weight shifts to the rear, planting the rear tires for maximum exit drive but lightening the front, which can cause the car to push wide.
- Lateral Loading: In high-speed sweepers, weight moves to the outside tires. If the turn is sharp enough at high velocity, the inside tires may lift, effectively halving your turning grip.
Mastering weight transfer means anticipating these shifts. By braking slightly before a turn, you plant the nose and prepare the car to rotate. Constant, smooth inputs keep the chassis stable, whereas sudden 'on-off' throttle behavior mid-corner upsets the balance and triggers unrecoverable slides.